

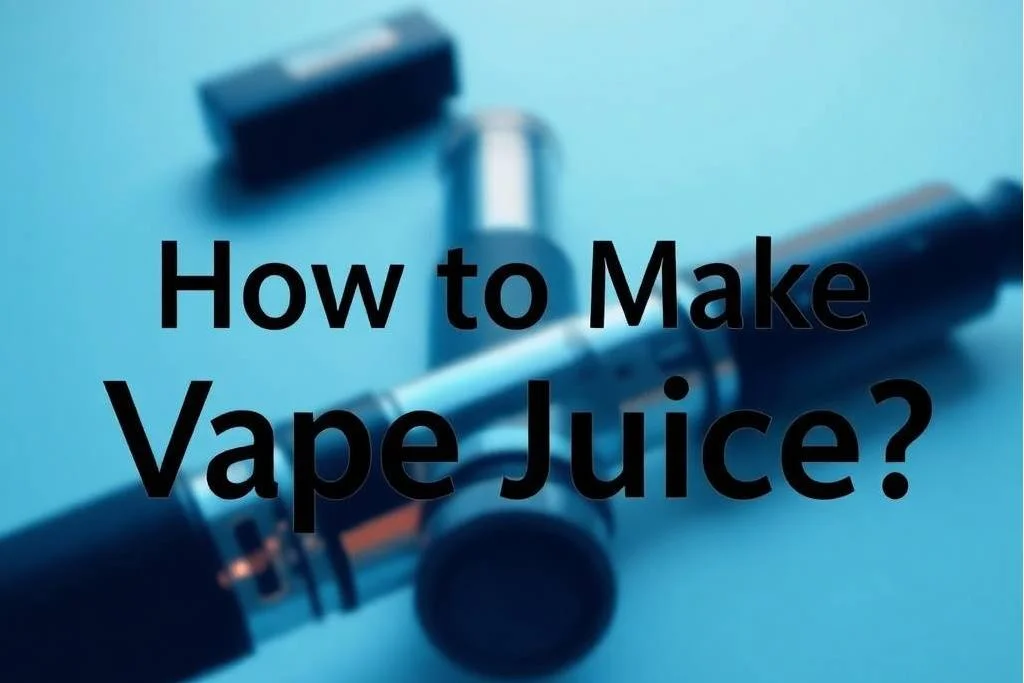
Making your own vape juice is an exciting and cost-effective way to customize your vaping experience. Whether you want to control nicotine strength, experiment with flavors, or ensure cleaner ingredients, DIY e-liquid offers total flexibility. This guide explains how to make vape juice safely and effectively—from choosing ingredients to proper mixing and steeping.
What Is Vape Juice?
Vape juice, also called e-liquid or e-juice, is the fluid used in vaporizers and e-cigarettes to produce vapor. It typically consists of four main ingredients:
- Propylene Glycol (PG) – Carries flavor and provides throat hit.
- Vegetable Glycerin (VG) – Adds vapor density and sweetness.
- Flavor Concentrates – Determines the taste of your vape.
- Nicotine (optional) – Adds the desired nicotine strength.
Ingredients You’ll Need
Before starting, make sure you have the following materials ready:
- PG (Propylene Glycol) – USP-grade
- VG (Vegetable Glycerin) – USP-grade
- Flavor concentrates – From reputable vape suppliers
- Nicotine base – (optional; handle with care)
- Distilled water (optional) – For thinning high-VG blends
- Empty e-liquid bottles – Preferably plastic or glass with dropper caps
- Syringes or pipettes – For precise measurements
- Gloves and protective eyewear – For safety
How to Make Vape Juice?
Step 1: Decide Your VG/PG Ratio
Your VG/PG ratio determines the vape’s texture and experience:
- 50/50 VG/PG – Balanced vapor and flavor, ideal for most devices.
- 70/30 VG/PG – Smooth clouds, less throat hit, popular among sub-ohm users.
- Max VG – Dense vapor with muted flavor, for cloud chasers.
Step 2: Choose Your Nicotine Strength
Select the nicotine level based on your preference and device type:
- 0 mg – Nicotine-free vaping.
- 3–6 mg – Common for sub-ohm vapers.
- 12–18 mg – Suitable for mouth-to-lung (MTL) devices or ex-smokers.
Always wear gloves when handling nicotine—it’s a toxic substance in high concentration.
Step 3: Add Flavor Concentrates
Flavoring usually makes up 5–15% of the total e-liquid. Start with small percentages and adjust after testing. Too much flavor can lead to an unpleasant or harsh taste.
Common flavor categories:
- Fruit: Strawberry, mango, watermelon
- Dessert: Custard, vanilla, cookie
- Menthol: Mint, ice, cool
- Tobacco: Classic and smooth blends
Step 4: Mix Your Ingredients
- Measure each ingredient according to your recipe (use syringes for accuracy).
- Pour them into a clean mixing bottle.
- Seal and shake thoroughly for at least one minute to combine all elements evenly.
Tip: Many DIYers use e-liquid calculators available online to ensure correct ratios and nicotine levels.
Step 5: Steeping Your E-Liquid
Steeping improves the flavor profile by allowing ingredients to blend and mature—similar to aging wine.
- Shake and store: Keep your bottles in a cool, dark place for 1–2 weeks.
- Test regularly: Taste your e-liquid after a few days to track flavor development.
- Warm bath method (optional): Place bottles in warm water for 30 minutes to speed up the steeping process.
Step 6: Test and Adjust
Once steeped, test your vape juice in your device:
- If it’s too harsh – Add more VG.
- If it lacks flavor – Add a few drops of flavor concentrate.
- If it’s too strong – Dilute with PG/VG base (no nicotine).
Keep notes on each mix so you can refine your recipes over time.
Safety Tips
- Always label your bottles with ingredients and nicotine strength.
- Store nicotine and vape juice away from children and pets.
- Use gloves and goggles when mixing.
- Only use high-quality, food-grade ingredients from trusted suppliers.
Benefits of Making Your Own Vape Juice
- Cost-effective – Save money compared to store-bought e-liquids.
- Custom flavors – Tailor your taste and nicotine levels.
- Transparency – Know exactly what goes into your juice.
- Sustainability – Reduce waste with reusable bottles.
Conclusion
Learning how to make vape juice lets you personalize your vaping experience like never before. With the right ingredients, tools, and safety precautions, you can create high-quality e-liquids that match your exact preferences. Start simple, take notes, and enjoy the process—DIY vaping is as much about creativity as it is about satisfaction.
FAQs
1. Is it safe to make your own vape juice?
Yes, if you use food-grade ingredients, proper equipment, and handle nicotine safely.
2. How long should you steep vape juice?
Most e-liquids steep for 1–2 weeks, though some flavors (like desserts or tobaccos) improve with longer steeping.
3. Can you make vape juice without nicotine?
Absolutely. Just skip the nicotine base and mix PG, VG, and flavor concentrates.
4. What’s the best VG/PG ratio for clouds?
A 70/30 or higher VG ratio creates thicker clouds with smoother hits.
5. Do I need special equipment to make vape juice?
Not necessarily—basic tools like syringes, bottles, and gloves are enough for beginners.